Warmachine Battle Report: Retribution vs. Convergence
We have a new writer here at Dice Monkey, my friend Ben, who I’ve known since we were 14 or so. He brought me into wargaming with 40k, and we’ve played a ton of games over the years. He’s deep into competitive Warmachine and Hordes, and has offered up some battle reports for the site. Enjoy! Take it away, Ben.
Retribution Forces
Garryth 2
-Sylys Wyshnalyrr
-Moros
-Harpy
-Siren
-Chimera
Dawnguard Trident
Fane Knight Skeryth Issyen (proxy, Ravyn on Large Base)
Eiryss1
Arcanist Mechanik
Ghost Sniper
Houseguard Thane
Houseguard Halberdiers (max)
-CA
-Soulless Escort
Stormfall Archers
House Vyre Electromancers (Proxy, Battle Mages)
Heavy Rifle Team
Convergence Forces
Iron Mother (Orion)
-Corollary
-Assimilator
-Assimilator
-Monitor
-Conservator (cygnar jack)
-Conservator (cygnar jack)
-Diffuser
-Diffuser
-Galvanizer
Reflex Servitors
Attunement Servitors
Elimination Servitors
Elimination Servitors (accretion servitors)
Elimination Servitors (mage hunters)
Optifex Directive
I’m trying out Garryth 2 in the Defenders of Ios theme for the first time, and I was able to get 2 games in today. I won the first vs Crucible Guard(Locke) with a top of 2 assasination so I’m not going to write it up, but the second game was pretty good, and was my chance to try to get revenge against the Iron Mother player who assassinated Garry last game.
I’m excited about the flexibility that bringing infantry gives, and to be able to give the Trident a test drive. The theory is that 3D3 shots with Mortality will be bonkers, and going into the game the intent is to keep it stealthed all game using Occultation.
I’m nervous about not bringing any heavies at all. I’m hoping that Mortality can help me do enough damage.
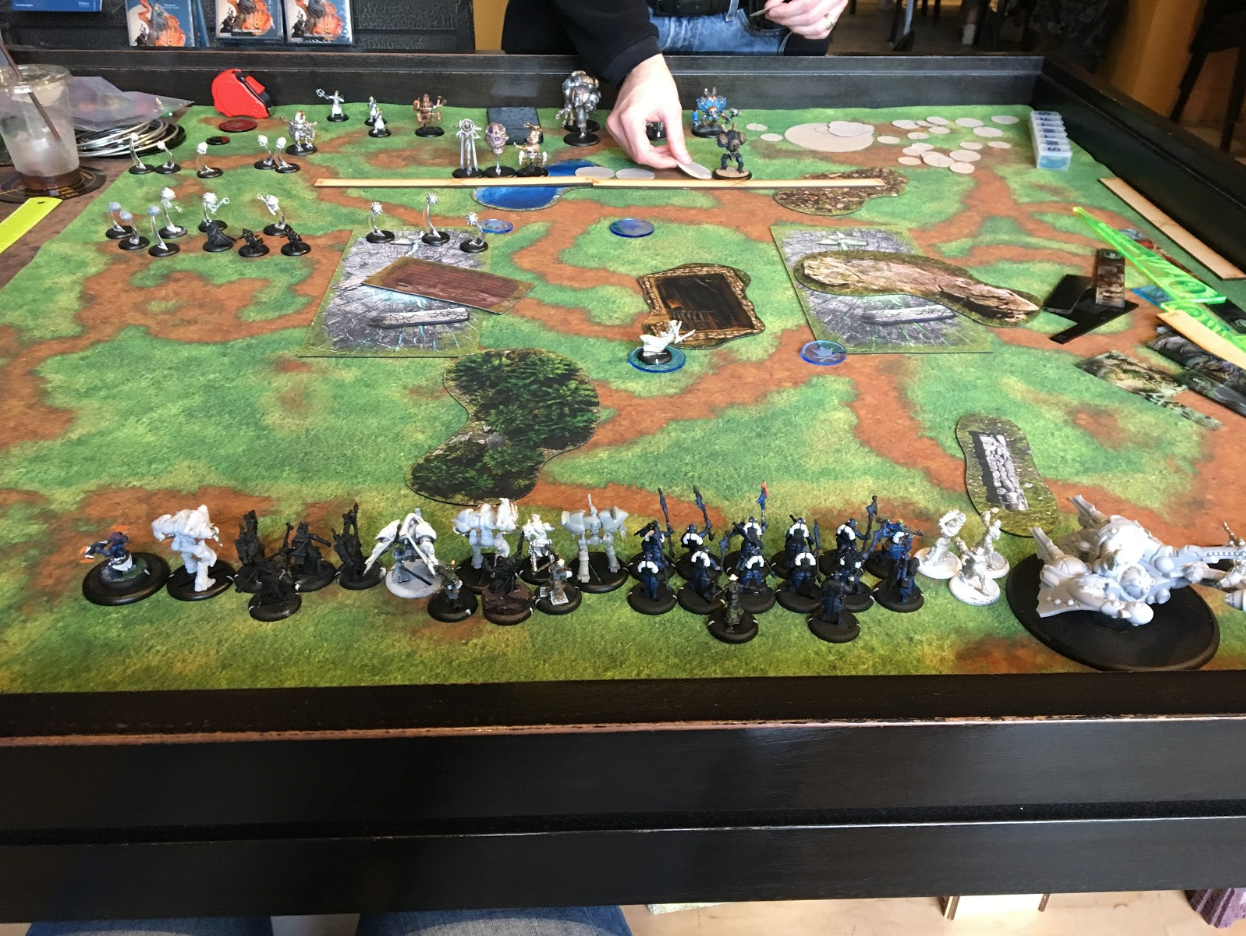
Retribution Deployment
I won the roll and chose to go first. The halbs are central to go up and jam him out as much as possible. Upon realizing that Ground Pounder from the Assimilators and True Sight on the Monitor make stealth on the Trident much less useful I decided to put it out on the right flank to bully that zone and protect the flag, since I don’t have to worry about casting range from Garryth.
My jacks all line up to hide behind the house and do the pop out, shoot, Road to War back plan as much as I can. I have a healthy fear of Backlash after last game and I don’t want to give Mother any more free damage on my caster than I have to. My mantra for this game is “Don’t get greedy, don’t get killed.”
The Stormfall Archers are planning to do a similar guerilla game to the jacks with the Reposition 3 they get from the theme.
I didn’t know what to do with the Electromancers since I’d never put them on the table before, so I figured they could follow the halberdiers up the center and strip off shield guards for me with their electro-leaps.
Garryth2 goes behind the woods so he can abuse the defensive terrain on the left or the objective to the right.
Convergence Deployment
Sorry, I didn’t get this picture until I’d started my turn.
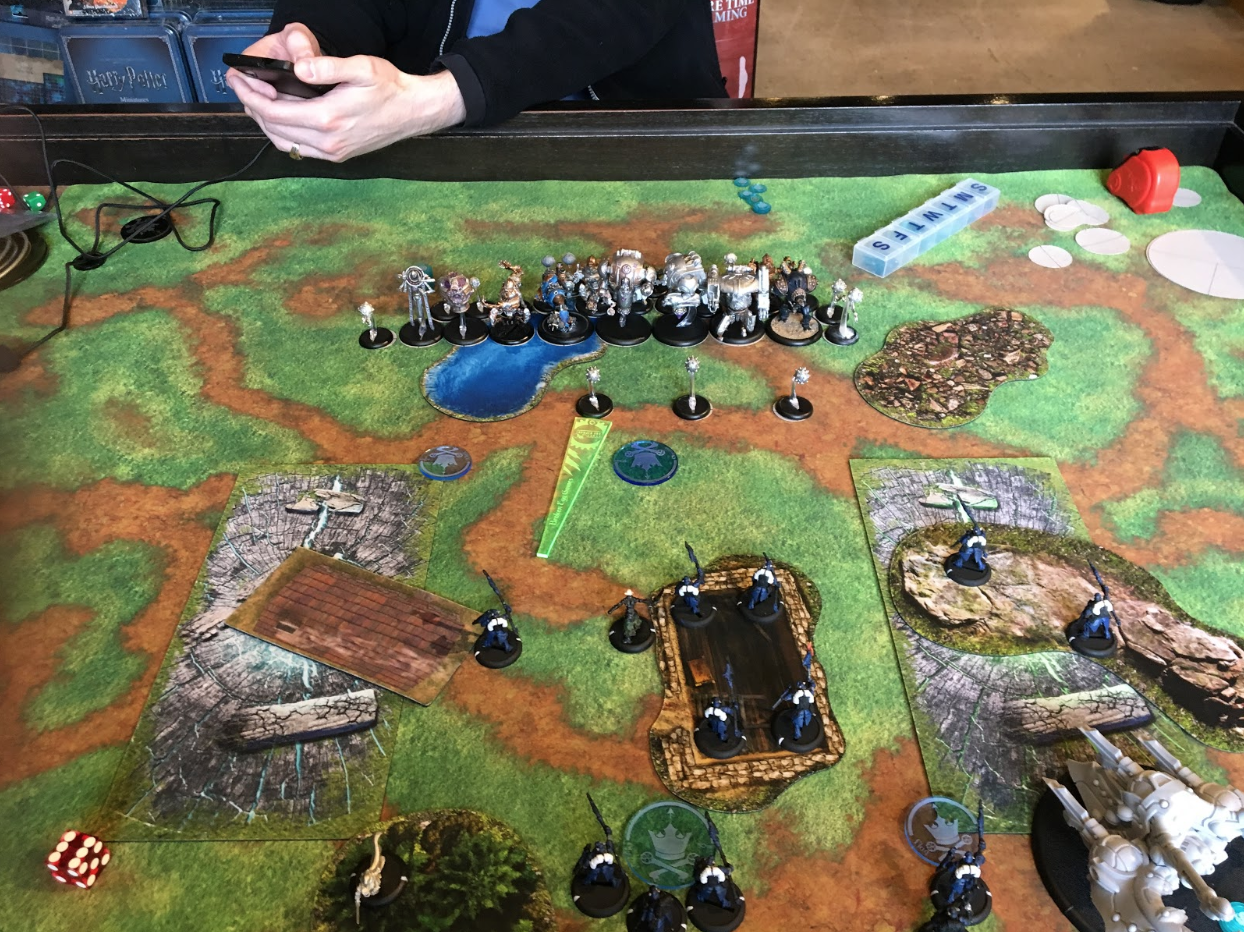
He deployed Mother in a fairly obvious move to hide her behind that house, and spread the jacks out across the center fairly symmetrically.
I advanced deployment my Eiryss centrally and his Reflex servitors when center, but back enough that I couldn’t snipe one out with Eiryss on turn one for a Road to War move.
Retribution Turn 1
Everything runs up, except the Thane who hangs back after putting Desperate Pace on the halbs. I’m pretty ok with my positioning here I think, except that I gave him more free halberds than I needed to. I probably could have kept 2 more back and had the same effect.
Garryth puts up Road to War and charges to get up into the woods in position to threaten the center of the table.
Moros and Siren move up to threaten Mother if she tries to hide behind the house.
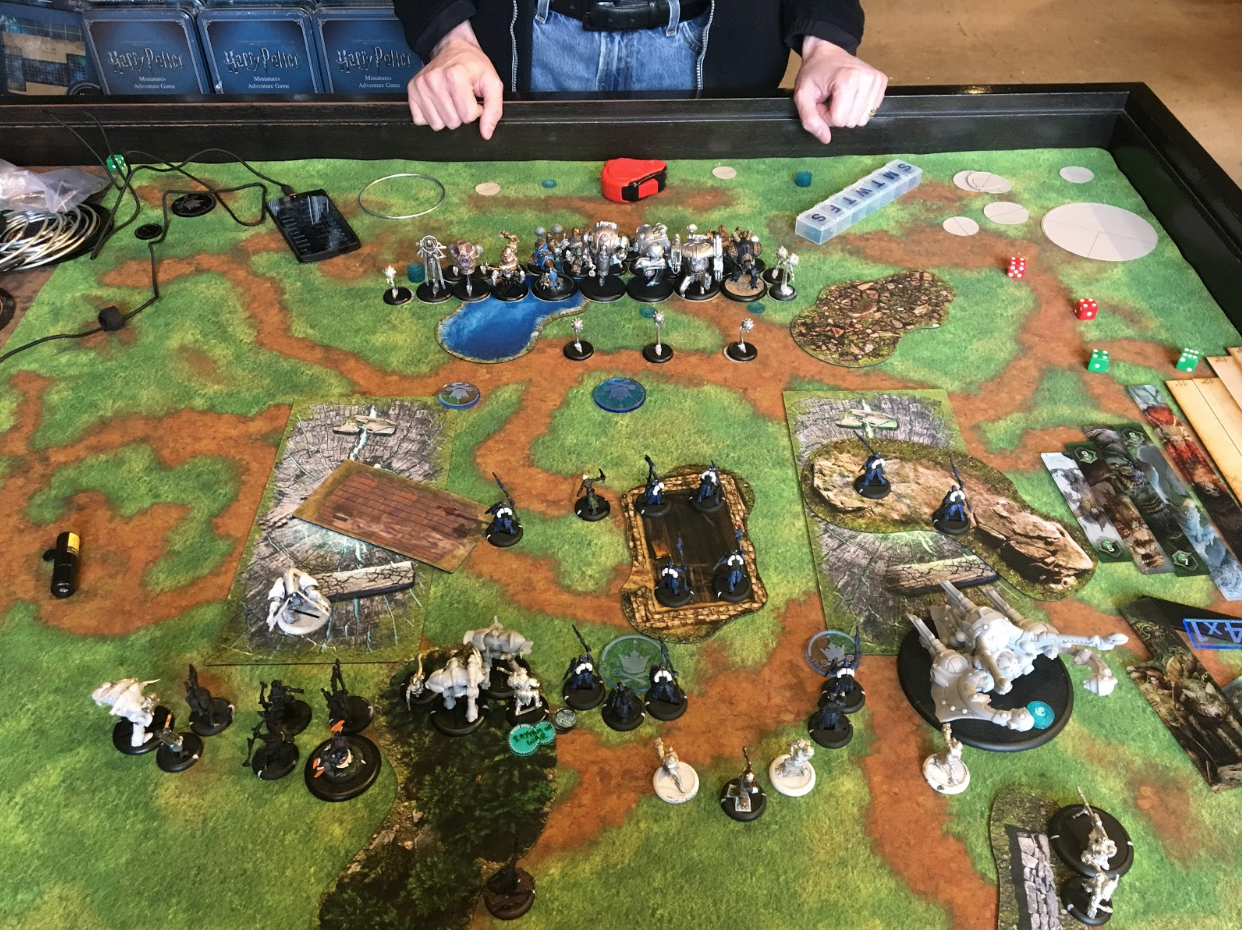
Convergence Turn 1
Things push cautiously up the center for the most part. Mother casts Fire Group and puts Tactical Supremacy up on the Monitor. Both Conservators run up to put pressure on me and try to bait out my Trident and my lights.
The Monitor tramples up to support the Conservator on my right, and then repositions 3 more forward. I think this is unnecessary, and after the game my opponent and I agreed that it was probably a mistake. The monitor was in range to boost a shot into the Trident from where it was, and didn’t need to get up and vulnerable like that.
The Assimilators walk up and Ground Pounder half of my unit of halberdiers to death, with the help of a couple elimination servitors.
Also critically, he doesn’t arc Backlash onto anything so my jacks can move where they want.
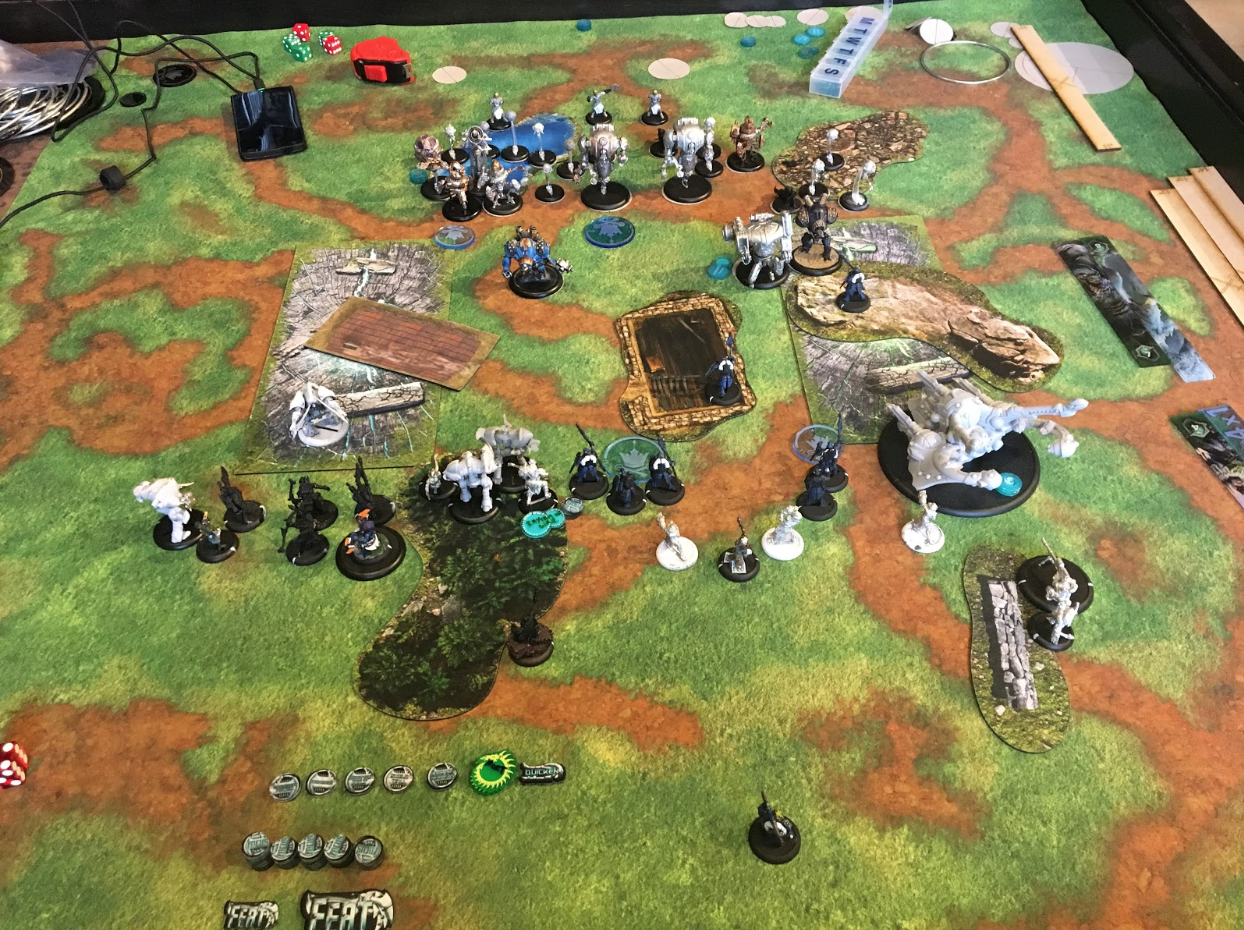
Retribution Turn 2
Shooty time! The Electromancers move up and shoot the Convergence heavies on my right until electro leaps take care of all of the servitors shield guarding them and then Repo back. Between the Heavy Rifle Team, the Trident, a boosted armor piercing shot from Garryth, both the Conservator and the Monitor go down.
During my caster’s activation he also put Mortality up on the left Conservator. Then 3 of the Stormfall Archers shot at it with brutal damage shots (one missed) and the last Stormfall shot a fire AOE around the other side at the Galvanizer which got shield guarded and lit 2 servitors on fire, which is what I’d hoped he would do. They repositioned back behind the building.
Eiryss used Disruptor Bolt on the Conservator, and the Ghost Sniper put 3 points into it before repositioning to my flag. Then the Harpy pushed the Conservator back twice.
Mistakes this turn:
-Trident got greedy (even though I was telling myself not to) and moved up far enough that it could put it’s overflow shots into the left Conservator. It should have stayed an inch further back.
-I meant to feat, and straight up forgot.
-Ghost Sniper should have gone on the left side of that flag to make Ground Pounders have a harder time getting coverage. If I was going to feat, I should have moved up the Heavy Rifle Team.
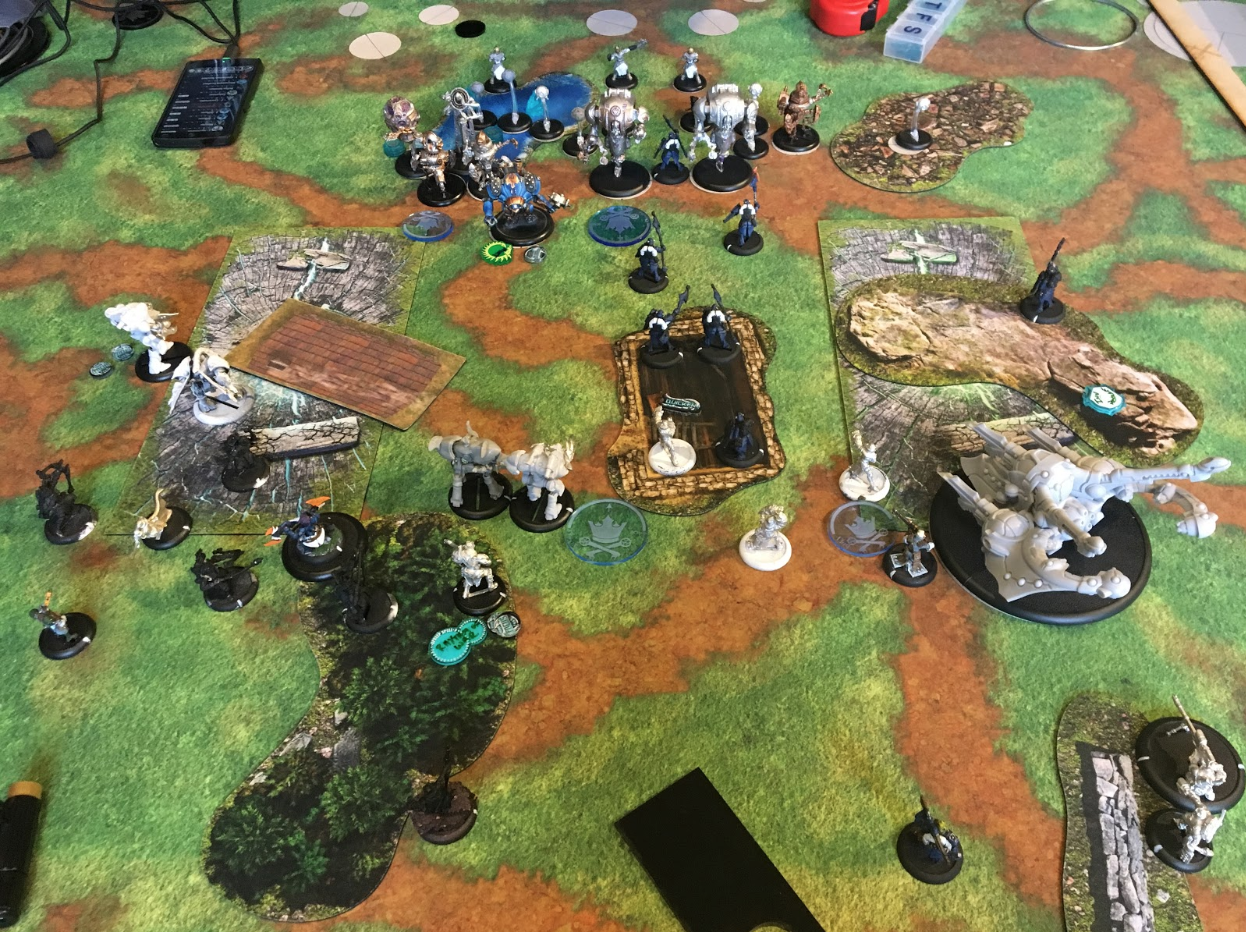
Convergence Turn 2
I forgot to take a picture!
Fire didn’t go out and both servitors died.
The turn started with a lot of clock burning trying to figure out how to unjam the Assimilators and servitors. Eventually elimination servitors took out one of the halbs in the way and the right Assimilator just took a free strike to get into the zone.
One of Iron Mother’s unit servitors was able to get up and put Imperil on the Trident, making it take +2 damage from each roll. The Assimilators moved up and shot the heck out of it, followed by the Diffuser on the right, and they left it on 3 boxes with average rolling. If they had spiked the dice or had one more thing in range the Trident would have gone down and the Assimilator would have scored that zone, making it a very different game. If I had put the Trident one inch further back the left Assimilator would have been out of range, and if I had feated I might have been able to arrange some counter play.
In the process of shooting that up they also killed the Ghost Sniper on my flag, and the Electromancer in front of it.
The left Diffuser got a Beacon shot into my Harpy, which was ½ inch outside of Fane Knight’s shield guard range. The damaged Conservator got a free charge and almost killed it with its initials.
Critical mistake: he forgot to save a servitor to run over and score his flag OR contest the left zone, so the score is 1-0 Retribution.
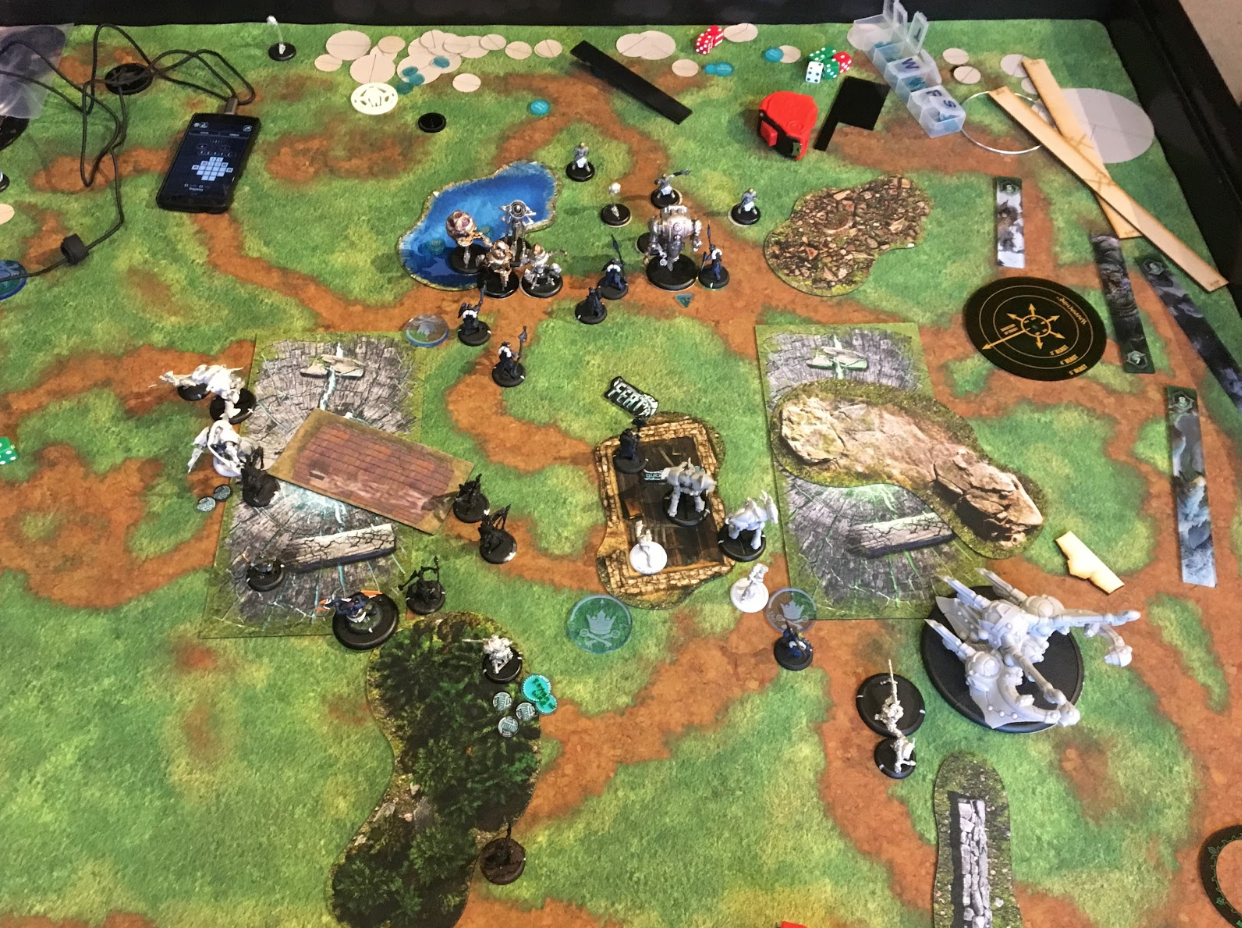
Retribution Turn 3
The objective heals the harpy so all of its systems are online.
Trident moves up a tiny bit, shoots a bunch at the Assimilator in the right zone, and repositions back to as safe a place as it can, and the Heavy Rifle puts a shot in as well. The halberdiers go in and kill the objective and finish off the Assimilator, and then reposition into jamming positions. For no reason the standard bearer leaves the zone and runs to the trench. No reason. So dumb.
Garryth and Harpy shoot the Diffuser out of the right zone, and Garry feats and repositions back to safety.
The Houseguard Thane walks up to score my flag.
Moros, Siren, and Eiryss move up to threaten the opponent’s flag with feat shots. I should have moved one of them up within 4 to contest just in case.
Both Zones, my flag, and the objective bring the score to 5-0 Retribution, and I close it out.
Even if he had put that servitor in the zone last turn and the score was only 4-1 right now I’m feeling pretty good with the feat up and him down to one heavy. I’m a little nervous that he’ll find an assassination out, but I have distance, a shield guard and 3 focus so I should be ok.
Post Game Thoughts
I really miss the shield guarding jacks from Forges, and the abuse of Road to War that I could do with that many heavies, but overall I think Defenders is going to be my theme for Garryth for a while.
The Trident is ridiculous with Mortality, and I’m actually thinking about buying a second.
I’m thinking a swap of the Siren and the Soulless Escort for another Harpy might be good. My concern would be that I lose the only Remove From Play effect I have, and without any heavies the Siren’s melee potential might be missed. 4x Thunderbolt shots though, and 2 on feat turn seems really good.
I’m also curious about the Rhyssovas instead of the Halberdiers, but since I don’t own that unit I’ll wait to try that out.
I feel like played it pretty well for the first run. Things I need to start thinking about though:
-I only have one shield guard, and it doesn’t have pathfinder. Don’t get killed.
-Ambushers can really mess with my “spread out to control the table” plan. Not sure what to do about that with my squishy rifle team, electromancers, etc.
-I need to practice keeping my support units like Sylys and the Arcanist at max distance from the models they’re supporting but in range to move up and support the next turn to keep them safe from AOEs, sprays, leaps, magic bullets, etc.
-I still don’t know where to stick Garryth to keep him safe, but still relevant. I burnt a lot of clock this game wondering where to reposition him to.
For the Convergence player, I mentioned what I think were the two main mistakes above: sacrificing the Monitor instead of shooting, and failing to score/contest on turn 2. I also wonder if he should have pushed up a little more on turn one, and if maybe the other side of the table would have been an easier one if the goal was to hide the caster behind the house.
The other thing, and this is a common disagreement between me and that player, is I think he played Mother too conservatively, especially late game. Her gun is awesome and she can be arcing spells all game, but she pretty much just lived behind a wall of light vectors. Losing on scenario is less violent than losing to assassination, but it’s still a loss.
All in all it was a great game with one of my favorite opponents (expect to read about lots of rematches), and I’m excited to get this list back on the table and optimize my play with it further.

